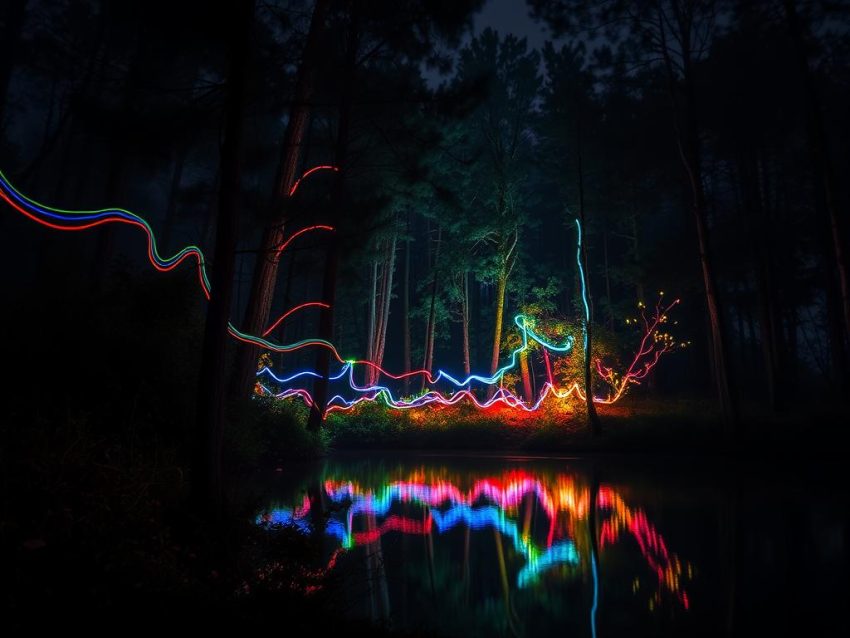
Did you know light painting photography has become super popular? It’s seen a 50% rise in online tutorials and videos in the last five years. This technique lets people create amazing images by using different light sources during long shots. It’s all about playing with light to make cool light trails and lighting effects.
Light Painting Photography needs you to know about exposure time. It can go over seconds, sometimes up to 170 seconds for complex shots. With the right tools and a bit of practice, anyone can make their photos magical.
Key Takeaways
- The technique involves using various light sources such as flashlights, LEDs, and glow sticks.
- Manual camera settings, like an ISO of 100, are key for great results.
- Using a sturdy tripod is important for stable long exposure shots.
- Most beginners start with simple tools before getting more advanced gear.
- Light painting can really boost social media engagement, with more shares and likes.
Understanding Light Painting Photography
Light Painting Photography is a unique technique that blends long exposure with moving lights. It lets me create scenes with dynamic light trails and unique designs. This makes for captivating images.
Definition and Concept
Light painting uses long shutter speeds to control light on the camera sensor. By moving lights during exposure, I create stunning effects. This method can take from 10 to 124 seconds, giving me lots of creative options.
History and Evolution of Light Painting
The history of light painting started in the late 19th century. The first light painting photo was made in 1889 by Étienne-Jules Marey and Georges Demeny. Over time, artists like Frank Gilbreth and Lillian Moller Gilbreth used it to study motion.
Gjon Mili also made significant contributions, working with artists like Pablo Picasso. This led to various styles, including Kinetic Light Painting, where the camera moves during exposure.
The Exciting World of Creative Lighting
Creative lighting brings a new level of artistry to photography. I can turn simple scenes into amazing images with colored lights, gels, or even LED fairy lights. This lets each photo have its own unique style.
By mastering techniques and planning before sunset, I can create stunning images. These show the beautiful mix of light and imagination.
Essential Gear for Light Painting Photography
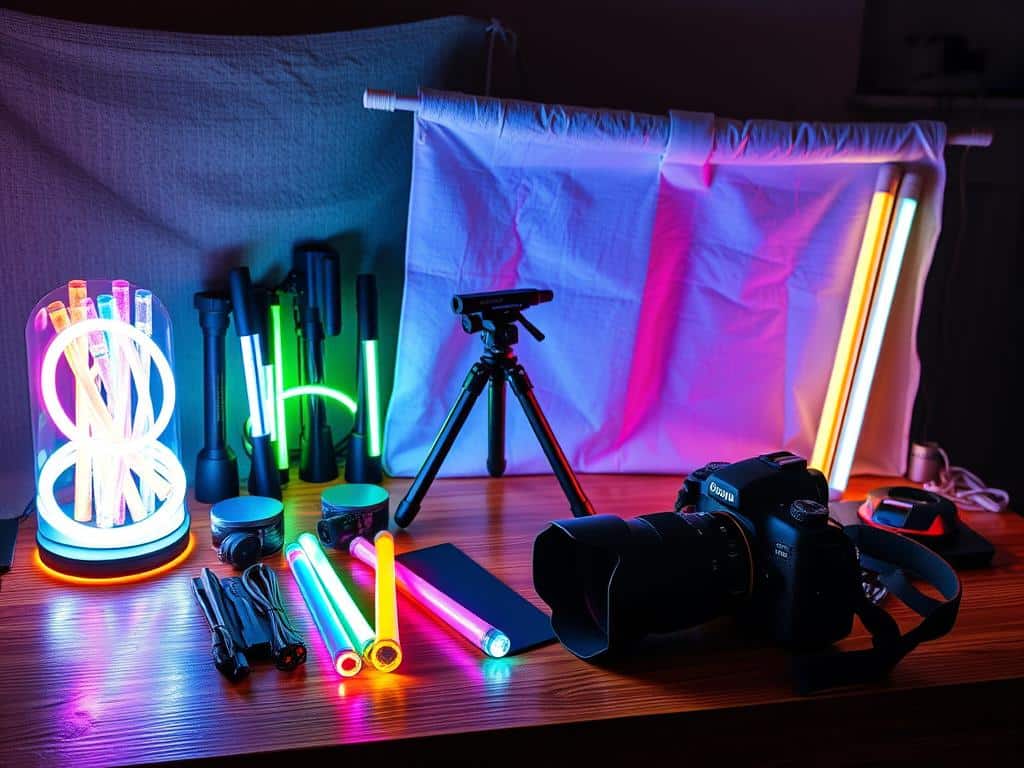
Creating stunning light painting photography needs the right light painting gear. The right camera, light sources, and accessories greatly affect your photos. Knowing the essential tools lets you express your creativity and try new things.
Camera and Lens Recommendations
For magical light painting shots, use a camera with manual control and Bulb mode. Canon, Nikon, and Sony offer great DSLRs for all levels. A wide-angle lens, like a 16mm f/2.8 fisheye, adds to the scene, making it full of light.
Required Light Sources
The light sources you choose greatly affect your light painting images. The Lume Cube RGB Panel Pro is very effective. It has 360 colors, adjustable brightness, and lasts 90 minutes on one charge, costing $169.99. The EL Wire Kit is cheaper, with various lengths and colors, priced at $14. The Spekular KYU 6 LED wand also offers different colors and effects, making it a great choice.
Helpful Accessories for Success
Using the right photography accessories makes light painting easier. A strong tripod is key to avoid camera shake. A remote shutter release helps avoid camera shake when starting your shot. Flashlights with at least 300 lumens are also important. For example, the Coast HP7R flashlight has a 300-lumen output and can light up your subject well.
Light Painting Photography Techniques
Exploring light painting photography techniques opens up exciting possibilities for stunning visuals. Each approach offers unique ways to manipulate light within your shots. This enhances creativity and expression.
On-Camera Light Techniques
On-camera light painting uses a light source that remains visible during the exposure. This allows for detailed designs like light writing or drawing. To capture captivating light trails, I set a shutter speed of about 10 seconds for simple drawings.
Using LED ‘Photon Micro Lights II’ ensures brightness without overwhelming the camera sensor. Pre-focusing the camera in low-light settings is key, as focusing can be challenging once the light is activated. For initial experiments, I suggest ISO settings between 200 to 400. A versatile lens, generally around 24-105mm, offers flexibility in framing shots.
Kinetic Light Painting Approaches
Kinetic light painting focuses on camera movement instead of the light source itself. Here, I keep the lights static while navigating the camera. This leads to dynamic light trails that convey a sense of movement and depth.
Similar to practicing drawing with my eyes closed, this method requires skill and adaptation. Often, I experiment with longer exposure times, ranging from a few seconds to over 30 seconds. This captures the essence of kinetic light painting seamlessly.
Combining Techniques for Unique Results
The beauty of light painting photography lies in its adaptability. It encourages combining light painting techniques. For instance, I enjoy executing on-camera light painting to create detailed shapes. At the same time, I use kinetic methods to introduce additional light trails or abstract forms.
This synergy results in striking visuals that tell a story through artful manipulation of creative lighting. As I practice, the thrill of experimentation leads to even more unique outcomes. This pushes the boundaries of what is possible in light painting.
Conclusion
Exploring light painting photography has been an exciting journey for me. It lets me play with light and long exposures to create unique images. Each photo tells a story, waiting to be discovered.
To succeed in light painting, I need a good camera, a strong tripod, and a reliable light source. I set my camera to Bulb mode for long exposures. This way, I capture every detail of the light trails.
Practicing in the dark has taught me a lot. It helps me master camera settings and get better photos. Light painting is all about creativity and learning, making my photography journey richer. I encourage everyone to try light painting photography and see how it can inspire you.
