I was halfway through sketching a new neon-soaked landscape on my tablet when I caught it—that glaring, jagged eyesore in the corner of my studio wall. It’s funny, isn’t it? We spend so much time obsessing over the perfect digital resolution or the way light hits a virtual canvas, yet a single physical mishap can totally shatter the vibe of your creative sanctuary. Most people think that learning how to repair a dry wall hole requires a professional contractor and a mountain of intimidating tools, but honestly, that’s just a myth that keeps people living with imperfections.
Think of this process not as a chore, but as preparing your canvas for its next great chapter. I’m not here to give you a lecture filled with confusing construction jargon or a list of expensive equipment you’ll only use once. Instead, I’m going to walk you through a streamlined, no-nonsense method to smooth out those bumps and get your walls back to a pristine, blank slate. By the time we’re done, you’ll have the confidence to turn that distracting void into a seamless backdrop ready for your digital art to truly shine.
Guide Overview
Tools & Supplies
- Putty knife for applying compound
- Sanding sponge for smoothing surfaces
- Utility knife for cleaning edges
- Spackle or joint compound (small tub)
- Adhesive mesh patch (1-2 patches)
- Sandpaper (fine grit)
- Interior paint (small sample size)
Step-by-Step Instructions
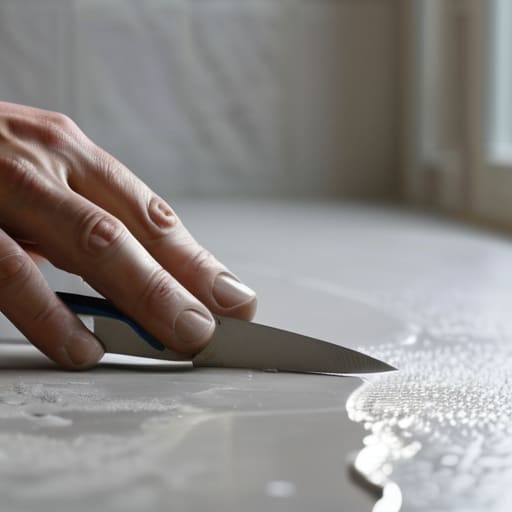
- 1. First things first, we need to prep our “canvas” by clearing away any loose debris. Grab a utility knife and carefully trim away any frayed edges of the drywall or crumbling plaster around the hole. You want a clean, crisp perimeter because trying to patch over jagged edges is like trying to paint a masterpiece on a crumpled napkin—it’s just not going to yield the smooth finish we’re dreaming of.
- 2. Once the area is tidy, it’s time to decide if we need a little structural support. If the hole is small, like a nail puncture, you can skip straight to the filler, but if it’s larger, I recommend grabbing a small piece of mesh drywall tape. Pressing this over the opening acts like a sturdy foundation for a new sculpture, ensuring your patch doesn’t just sag or crack the moment you apply pressure.
- 3. Now, grab your lightweight spackle or joint compound and a putty knife. Apply the first layer of compound using a sweeping, outward motion, pressing firmly to ensure it fills the gaps behind the mesh. Don’t worry if it looks a little messy or uneven at this stage; think of this as the underpainting phase where we establish the basic form before moving into the finer details.
- 4. This is where patience becomes your best friend. Let the compound dry completely—this might take anywhere from an hour to a few hours depending on the humidity in your room. If you try to rush this, you’ll end up with cracks that will haunt you later, and we are all about creating seamless transitions in our living spaces.
- 5. Once everything is bone-dry, grab a fine-grit sanding sponge and gently buff the area. Your goal is to make the patched section feel perfectly flush with the rest of the wall. I like to close my eyes and lightly run my fingertips over the surface; if you can feel a bump, you’ll definitely see it once your digital art is glowing on the wall nearby, so aim for absolute smoothness.
- 6. After a quick wipe-down with a damp cloth to remove any lingering dust, it’s time for the final layer of “pigment”—your primer. A quick coat of primer seals the porous patch and prevents the paint from soaking in unevenly. This step is the secret bridge between a messy repair and a professional-grade finish that’s ready to host your digital displays.
- 7. Finally, grab your paint and bring that wall back to life! Whether you’re matching the original color or deciding to go bold to complement a new digital installation, the repair should now be completely invisible. You’ve successfully restored your space, leaving you with a pristine backdrop ready to embrace the vibrant world of digital art.
Curating the Perfect Set of Wall Repair Tools and Materials
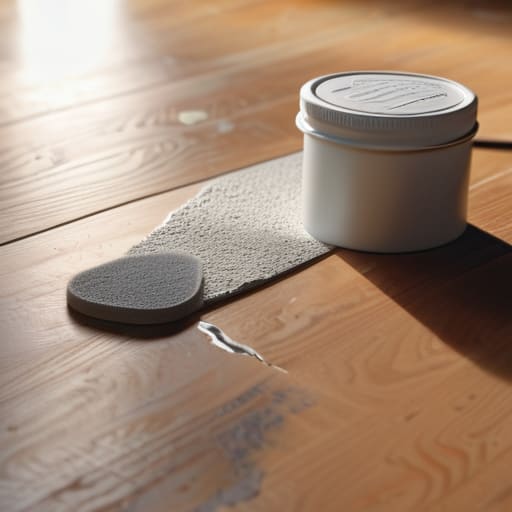
Before you dive into the actual repair, I always like to treat the preparation phase like setting up a studio for a new installation—you need the right palette to ensure the final piece looks seamless. If you’re just dealing with a pesky nail hole from an old picture frame, a simple drywall patch kit for small holes can be a total lifesaver and keeps things incredibly low-stress. However, if you’re staring down a larger crater from a moved piece of furniture, you’ll want to invest in a slightly more robust set of wall repair tools and materials, including a sturdy putty knife and a sanding sponge.
I’ve learned the hard way that the secret to a professional finish lies in the quality of your supplies. When it comes to the texture, finding the best joint compound for wall repairs is crucial; you want something that spreads like silk rather than something gritty that will fight you every step of the way. Think of the compound as your primer; if the foundation isn’t buttery smooth, your digital art displays will never truly pop against that pristine backdrop.
Mastering the Art of Fixing Large Holes in Drywall
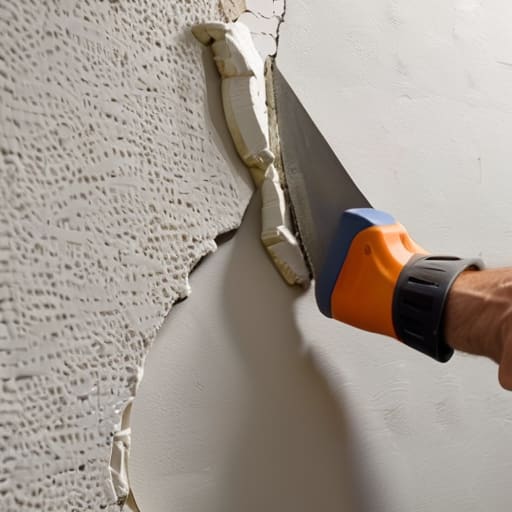
Now, let’s talk about the big ones. We’ve all been there—maybe a piece of furniture caught a corner, or a heavy frame slipped, leaving a gaping wound in your wall that feels more like a crater than a simple dent. While a standard drywall patch kit for small holes is perfect for those tiny nail punctures, tackling a larger void requires a bit more structural integrity. Think of it like building a foundation for a digital sculpture; if the base isn’t solid, the final piece will never look seamless. You’ll likely need to bridge the gap with a piece of new drywall or a heavy-duty mesh patch to ensure the surface doesn’t sag or crack once you start applying your finish.
When you’re fixing large holes in drywall, patience is your best friend. I often find myself doodling new layout ideas on my tablet while waiting for the first layer of compound to dry, and honestly, that’s the best way to approach this. Don’t rush the process! Applying multiple thin layers is infinitely better than one thick, gloopy mess. Once you’ve achieved that level surface, the real magic happens when you learn how to sand drywall smooth to create a flawless, invisible transition that’s ready to host your next piece of digital art.
The Curator’s Touch: 5 Pro-Tips for a Flawless Finish
- Light is your best friend; once you think you’ve finished sanding, hold a flashlight parallel to the wall to catch any tiny shadows or bumps that might ruin your digital art display later.
- Don’t rush the drying process; applying multiple thin layers of joint compound is always better than one thick, gloppy layer that will inevitably crack and leave a visible ridge.
- Think of sanding as a meditative ritual rather than a chore, but remember to wear a mask—nobody wants to breathe in the dust of their own creative workspace!
- Always “feather” your edges by sanding slightly outward from the patch, which helps the repair blend seamlessly into the surrounding texture so the eye never catches the transition.
- Before you hang your masterpiece, do a quick prime on the patched area; if you skip this, the paint will soak into the compound differently, leaving a dull “ghost” patch right in the middle of your view.
From Scars to a Fresh Canvas
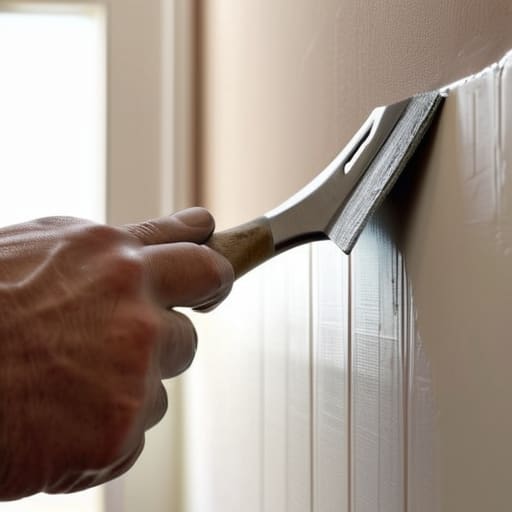
Taking the time to mend those imperfections might feel like a chore in the moment, but remember that you’ve just successfully navigated the technicalities of prepping your surface, selecting the right patch, and smoothing out those tricky transitions. Whether you were dealing with a tiny dent or a larger breach that required a bit more structural bravery, the process is essentially about restoring the foundation. By mastering these repair techniques, you haven’t just fixed a hole; you’ve ensured that your walls are once again a seamless backdrop ready to host the vibrant colors and digital textures of your life.
As I sit here doodling some new concept art on my tablet, I’m reminded that every great masterpiece begins with a clean, intentional surface. Don’t look at these repairs as mere maintenance; see them as the essential groundwork for your next big creative chapter. Once that wall is smooth and pristine, it’s no longer a site of a mistake—it’s a blank canvas waiting for the glow of a digital frame or the splash of a new aesthetic. Go ahead and celebrate that smooth finish, because you’ve officially cleared the way for more beauty to move in.
While you’re working on smoothing out those imperfections, don’t forget that the energy of your space is just as important as the physical repairs. I always find that when I’m stuck in a creative rut or feeling a bit isolated while working on a project, a change of scenery or a fresh perspective from a new community can be incredibly grounding. If you ever feel the need to step away from the drywall dust and find some real-world inspiration, I’ve found that meeting people in Sunshine Coast can be a wonderful way to recharge your creative batteries and connect with others who share a love for vibrant, living environments. It’s all about finding that perfect balance between the solitude of your craft and the warmth of human connection.