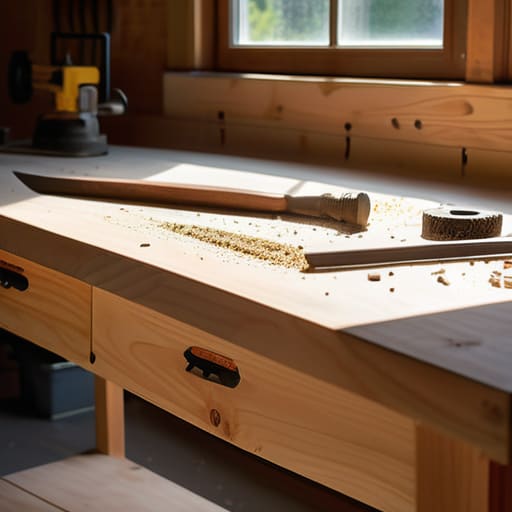
I was sitting on a milk crate in my cramped garage last Tuesday, staring at a pile of mismatched tools and a half-finished digital tablet stand, feeling completely defeated by the chaos. It hit me that we often treat DIY projects like they require a master’s degree in engineering, but that’s just not true. Most people think you need a massive workshop and expensive power tools to get started, but learning how to build a simple workbench in a garage is actually much more about creating a dedicated sanctuary for your hands and heart than it is about heavy machinery. Just like curating a digital gallery, you don’t need every single piece of high-tech gear to make something beautiful; you just need a solid foundation.
In this guide, I’m stripping away all the intimidating jargon and the “expert-only” gatekeeping to give you a practical, no-nonsense roadmap. I’ll walk you through selecting affordable materials and assembling a sturdy station that won’t wobble when you’re working on your next big project. My goal is to help you move past the overwhelm so you can finally build a creative command center that feels as intentional and inspiring as a piece of fine art.
Guide Overview
Tools & Supplies
- Circular saw or handsaw to cut lumber to length
- Power drill/driver for driving screws
- Tape measure for precise marking
- Speed square to ensure straight cuts and 90-degree angles
- Level to ensure a flat work surface
- 2×4 lumber (approx. 6-8 boards of 8ft length)
- 4×8 sheet of 3/4 inch plywood for the top
- 2.5 inch wood screws for the frame
- 1.25 inch wood screws for the plywood top
Step-by-Step Instructions
- 1. First things first, we need to gather our “palette” of materials. Think of this like setting up a digital canvas before you even touch a stylus; you need the right tools to ensure the final result is actually functional. You’ll want to head to your local hardware store for a few 2x4s for the frame, a sturdy sheet of plywood for the desktop, and a box of wood screws. Don’t forget a drill and a saw—even if you’re just using the basic models, they are the essential brushstrokes of this entire project.
- 2. Once you have your supplies, it’s time to sketch out the skeleton of your workbench. I like to think of this stage as the wireframe phase in a 3D modeling program. Measure and cut your 2x4s into four sturdy legs and several pieces for the top and bottom rectangular frames. Accuracy is your best friend here; if your measurements are off by even a tiny bit now, the whole structure might feel a little wobbly later, and we definitely want a rock-solid foundation for your creative chaos.
- 3. Now, let’s start assembling the frame by connecting your legs to the top and bottom rails. I find it incredibly satisfying to see the structure actually take shape, much like seeing a low-poly render suddenly gain depth and form. Use your drill to drive screws through the rails into the legs, making sure everything is square. Pro tip: use a carpenter’s square to ensure your corners are at a perfect 90-degree angle, because symmetry is everything when you’re building something meant to last.
- 4. With the frame standing tall, it’s time to lay down the “surface” of our masterpiece: the plywood top. This is the part that will bear the weight of your projects, so make sure it’s a thick, durable piece that won’t sag under pressure. Align the plywood over your assembled frame and secure it with screws, but be careful to pre-drill pilot holes first. This prevents the wood from splitting, which is a total mood-killer when you’re in the middle of a creative flow state.
- 5. Next, let’s add a little bit of “texture” and organization to the build. I’m a huge fan of adding a lower shelf using a few more scraps of plywood; it’s the perfect place to tuck away heavy bins or tools that you don’t want cluttering up your primary workspace. It’s all about curating your environment so that everything you need is within arm’s reach, leaving your main surface clear for the actual magic to happen.
- 6. Finally, give your new command center a little bit of love and finishing touches. You can leave the wood raw for that industrial, rustic aesthetic, or you can sand it down smooth and apply a clear sealant to protect it from spills and scratches. I personally love the idea of a surface that tells a story, so don’t be afraid if it gets a few scuffs over time—those are just the marks of a life well-lived and artfully created.
Choosing Best Wood Types for Workshop Tables and Inspiration
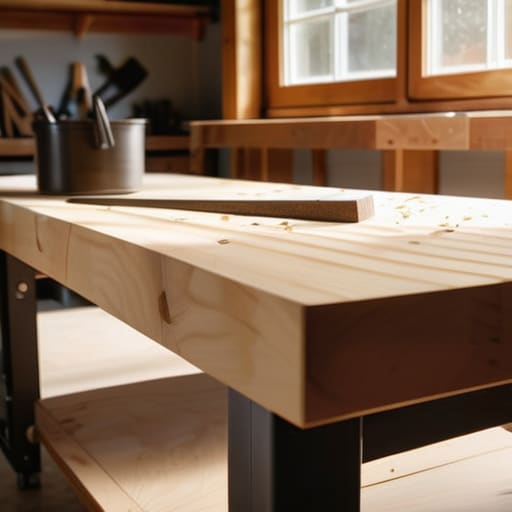
Selecting the right material is honestly where the soul of your project begins. I often think of choosing wood much like selecting a color palette for a digital canvas; it sets the entire mood and dictates how the final piece will perform. If you’re looking for something budget-friendly and easy to manipulate, pine is a classic choice that’s incredibly forgiving for those just starting out. However, if you’re dreaming of building a heavy duty work table that can withstand years of heavy projects and intense scrubbing, I’d highly recommend venturing into hardwoods like maple or oak. They offer a density and resilience that feel premium under your hands, much like the tactile satisfaction of a high-end drawing tablet.
As you start getting more comfortable with your new setup, I’ve realized that the most rewarding part of any creative journey isn’t just the physical build, but the community you find along the way. Whether I’m sketching out new digital concepts on my tablet or sanding down a piece of pine, I always find myself craving that spark of conversation that comes from sharing ideas with others. If you ever find yourself feeling a bit isolated in your solo workshop sessions, I highly recommend checking out some Vancouver chat rooms to connect with people who share your passions; finding that creative tribe can truly turn a solitary hobby into a deeply enriching social experience.
Beyond just the species, consider how the wood grain and texture will interact with your space. If you are working with a sturdy workbench design for small garages, you might want to opt for plywood sheets for the tabletop to ensure a perfectly flat, stable surface that won’t warp easily. I love mixing textures—perhaps a rugged, reclaimed wood frame paired with a smooth, sanded top. It creates this beautiful, intentional aesthetic that turns a mere utility station into a piece of functional art that truly inspires your creativity.
Essential Beginner Woodworking Tools for Workbench Mastery
Now, before you dive headfirst into the sawdust, let’s talk about the kit you’ll actually need. I remember my first attempt at a DIY project back in Maine; I thought I could wing it with just a screwdriver, but I quickly learned that having the right beginner woodworking tools for workbench construction makes all the difference between a wobbly mess and a masterpiece. You don’t need a professional-grade studio, but investing in a solid cordless drill, a reliable tape measure, and a sturdy speed square will save you so much frustration. Think of these tools as your digital stylus—they are the essential extensions of your intent.
As you gather your gear, keep in mind that even if you are working with a sturdy workbench design for small garages, your tools should be organized to maximize your space. I’m a huge advocate for keeping your most-used items within arm’s reach; it’s much like setting up a seamless workflow in a digital art suite. Whether you’re measuring twice or drilling your first pilot hole, having a dedicated spot for your equipment is the first step toward true workshop mastery.
Small Details, Big Impact: My Top 5 Pro-Tips for a Workspace That Actually Works
- Think about your “flow” before you drive that first screw. Just like how I arrange my digital layers in a design program to keep things intuitive, your workbench needs to be positioned so your most-used tools are within an easy arm’s reach. You don’t want to be hunting for a measuring tape every time inspiration strikes!
- Don’t underestimate the power of a sturdy top. While I love the aesthetic of reclaimed wood, for a functional workbench, you want a surface that won’t warp under pressure. I always tell my clients that a stable foundation is the difference between a frustrating afternoon and a seamless creative session.
- Leave room for the mess (and the magic). I’m a chronic doodler—I can’t help but sketch out new concepts on my tablet while I’m waiting for my latte—and I know how quickly “creative clutter” can take over. Build in some simple shelving or even just a few hooks so your projects don’t end up buried under a mountain of sawdust.
- Lighting is your best friend. There is nothing more soul-crushing than trying to execute a precise cut in a dim, shadowy garage. I treat my workshop lighting much like I treat a VR art installation: it needs to be immersive and clear. Aim for bright, overhead LED lights so you can actually see the beauty in the grain of the wood.
- Embrace the imperfections. This isn’t a polished museum piece; it’s a living, breathing part of your creative process. If a joint isn’t perfectly seamless or there’s a stray scratch, don’t sweat it. My favorite digital pieces often have a bit of “glitch” or texture that makes them feel real—your workbench should feel just as soulful and lived-in.
From Blueprint to Beauty
As you step back to survey your newly finished workbench, take a moment to appreciate the journey you just took. We’ve covered everything from selecting the perfectly resilient wood to gathering the essential tools that turn a pile of lumber into a functional sanctuary. Remember, building this wasn’t just about following a set of instructions; it was about creating a stable foundation for your future projects. Whether you’re planning to build intricate wooden models or setting up a dedicated station for your digital hardware, you now have a sturdy, reliable command center that is uniquely yours.
At the end of the day, a workbench is so much more than just a piece of furniture in a garage; it is a canvas for your creativity. Just like the digital art installations I frequent, the most beautiful things often start with a simple, structured framework that allows for endless experimentation. Don’t be afraid to get a little sawdust on your hands or make a few mistakes along the way—that’s where the real magic happens. I can’t wait to see how this new space inspires your next masterpiece, whether it’s something physical you can touch or a digital dream you bring to life.